(SDC) 1: Setup Project and Create Timing Diagram |

|

|
|
(SDC) 1: Setup Project and Create Timing Diagram |
|
|
(SDC) 1: Setup Project and Create Timing Diagram |
|
|
|
(SDC) 1: Setup Project and Create Timing Diagram |
|
|
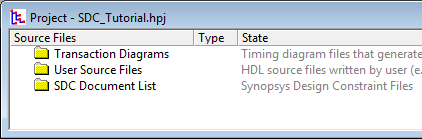
SDC timing files can be generated from any timing diagram, whether it is contained in a Project or just saved as an independent diagram. However, by using a project you will be able to quickly see the generated SDC code and it will make doing this tutorial easier. Not all the SynaptiCAD products have a project window, so there will be alternate instructions for those just using a plain timing diagram.
[Project Users] Creating a Project
WaveFormer with Reactive Testbench option, DataSheet Pro, TestBencher Pro, and BugHunter (or VeriLogger Extreme) all contain the project window. Timing Diagrammer and WaveFormer Pro do not have the project window. If you are evaluating one of the timing diagram products, you can also request a license for the project window. Skip this step and proceed to the "Create a Timing Diagram" step if you do not have a license for a product that supports project creation.
•Choose the Project > New Project menu option to open the New Project Wizard dialog. •Name the Project, then close the dialog to create the project and open the Project window. |
Create a Timing Diagram
•Choose the File > New Timing Diagram menu option to create a new timing diagram. •For Project Users, inside the timing diagram, right click in the signal name pane and choose Add Diagram to the Project from the context menu to open a Save As dialog. •Name the diagram and press the Save button to add the diagram to the Transaction Diagrams folder. |
